23 de February de 2026


Travel tips
23 de February de 2026
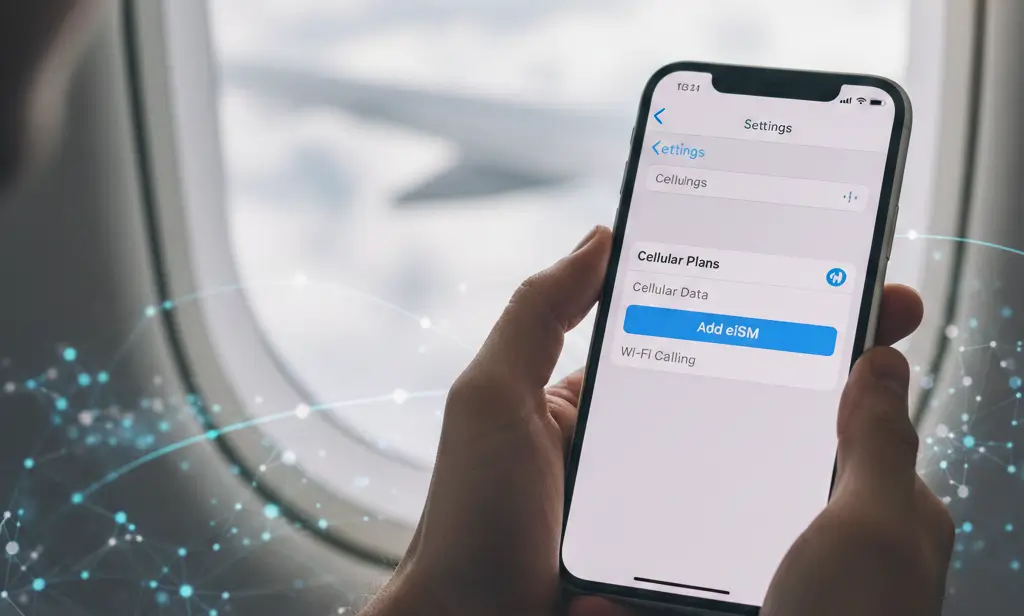
The eSIM is a “virtual chip” embedded in the iPhone that allows you to purchase data plans without needing to swap out a physical SIM card. In the case of an international eSIM, it is used to connect your iPhone to carriers in other countries, ensuring internet access during your trip, avoiding high roaming fees from your Brazilian carrier, and keeping your Brazilian number active to receive SMS and calls while using the eSIM solely for data.
Activating an international eSIM on an iPhone is one of the most practical ways to have internet while traveling without relying on a physical SIM card or paying for expensive roaming. We will help you step by step to use an international eSIM on your iPhone, along with important tips to ensure you don’t run into problems during your trip.
Before moving on to the step-by-step guide, check a few important points to ensure the eSIM activation goes smoothly: First, confirm that your iPhone is eSIM compatible. Newer models already come with native support, and you can check this by going to Settings and seeing if there is an option to add a cellular plan. Additionally, the device needs to be unlocked for use with any carrier.
Another important point is to have your eSIM plan details on hand: usually, the company or carrier sends a QR code, an installation link via an app, or an activation code that will be used during the setup process.
It is also recommended to have an active Wi-Fi connection at the time of installation, as the iPhone may need to download carrier settings. Read the specific instructions from your international eSIM provider (such as AmericaChip, AmericaSimTravel, etc.), as some plans require extra configurations, like APN adjustments or activation only upon arriving in the destination country.
The ideal time to activate the international eSIM depends on the rules of the purchased plan. Some providers only start counting the validity period when the device first connects to the network in the destination country. In these cases, you can install the eSIM before the trip and leave it disabled until you arrive, preventing the usage period from being consumed early.
Other plans, however, start counting the validity immediately after installation or activation. Therefore, it is worth checking the service terms before setting up the eSIM on your iPhone. This information is usually available in the purchase confirmation email or in the instructions provided by the provider.
If you intend to land already having internet access to request transportation, use navigation apps, or communicate, installing the eSIM in advance is usually the most convenient option. That way, you simply enable the line when you arrive at your destination and wait for it to connect to the available network.
The process to install and activate the eSIM is relatively simple and entirely done through the Settings menu:
Start by unlocking your iPhone and opening the Settings app. Then, tap the Cellular or Mobile Data option, depending on how it appears on your system. This is the menu where you manage both the physical SIM card and the eSIMs installed on the device.
Inside the cellular settings screen, you will see the lines that are already active, and right below them, the option to add a new plan. This is exactly where the setup for your international eSIM will take place, whether via QR code, an app, or manual data entry.
On the Cellular screen, tap Add eSIM or Add Cellular Plan. The iPhone will show the available options to install a new plan. In many cases, you will see alternatives like Use QR Code, Use Carrier App, or Enter Details Manually.
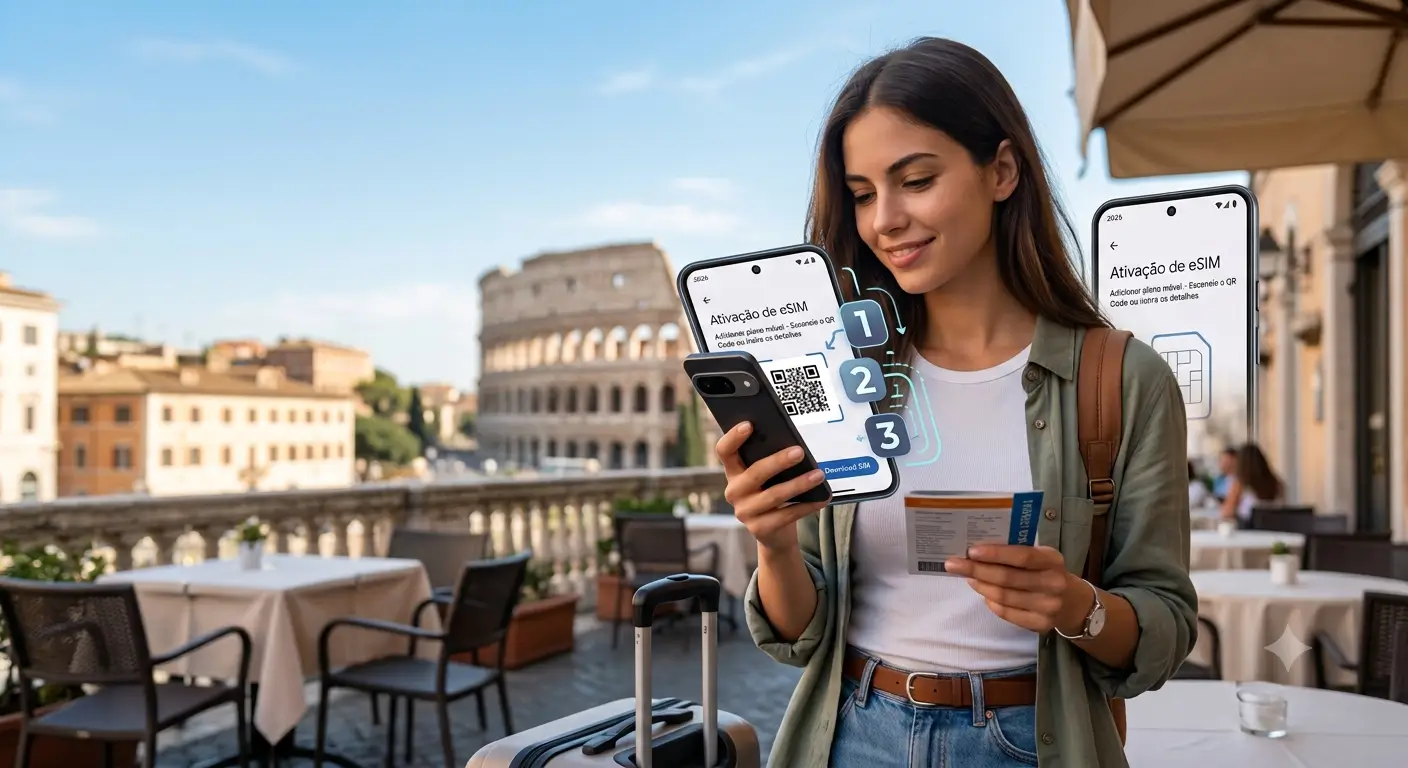
If you received a QR code from the eSIM company, select the scan code option and point the iPhone’s camera at the image. The system will automatically recognize the plan data and proceed to the confirmation screen. If the eSIM is being installed via an app (for example, from an international eSIM store), there will usually be a button within the app itself to install the eSIM, which will open this same Settings screen and complete the process almost automatically.
Some international eSIM providers send the data in the form of an activation code, with information like the SM-DP+ address and a numerical code. In these cases, instead of using the QR code, you should choose the Enter Details Manually option on the add plan screen.
Upon selecting this option, the iPhone will display fields to type in the information provided by the eSIM service. Simply copy exactly what was sent to you (via email, website, or app) and confirm. After entering the data, the iPhone will contact the carrier’s server to validate and install the new international eSIM on the device.
After scanning the QR code or entering the data manually, the iPhone will show a summary screen of the new plan. There, you can review which line is being added and confirm the installation. Tap Continue or OK to complete. The iPhone may take a few moments to activate the international eSIM, depending on the connection and the carrier. Once finished, the new plan will appear in the list of cellular lines, ready to be set up as the primary data line to use during your trip.
Installing the eSIM is just the first part. Next, it is important to correctly configure which line will be used for data, calls, and messages, especially if you intend to keep your Brazilian number active.
Inside Settings, access the Cellular menu again. Tap the newly installed eSIM to open the specific options for that line. The system allows you to rename the plan, and a helpful tip is to assign a label like “Travel,” “Europe,” or “USA” to easily identify the international eSIM.
On the same screen, the iPhone offers options to define how this line will be used. You can keep your Brazilian SIM as the primary line for calls and SMS, and configure the international eSIM exclusively for mobile data. This is ideal for those who want to continue receiving banking codes and messages on their Brazilian number without paying for data roaming.
Still in the Cellular settings, look for the Cellular Data or Data Line option. There you can choose which of the lines will be used for internet connection. Select the international eSIM as the mobile data line, leaving the Brazilian SIM disabled for data.
Some eSIM plans require Data Roaming to be enabled to function properly in the destination country. In this case, open the eSIM options, locate the Data Roaming item, and toggle it on, following the instructions provided by the eSIM company. This way, the iPhone will be able to connect to partner networks abroad without getting blocked.
Many people prefer to install the eSIM while still in Brazil and activate the plan only upon arriving in the destination country. If this is your case, leave the eSIM disabled until it’s time to board or disembark. Upon arrival, go to Settings, Cellular, and turn on the international eSIM line, ensuring that it is selected as the mobile data source.
After a few moments, the iPhone should automatically connect to the local partner carrier’s network. In some cases, you may need to restart the device for the signal to appear properly. Once the connection is active, you will be able to use the internet normally, just as if you had a local physical SIM card.
If the activation fails to complete, the issue could be related to several different factors. One of the most common is a lack of internet connection during the process, as the iPhone needs to access the carrier’s servers to complete the setup.
It is also important to verify if the activation code or the QR code is still valid. Many eSIMs only allow a single installation, and a code that has already been used may not work again. Moreover, typos in manually entered information will prevent the device from recognizing the plan.
Another point that deserves attention is the iOS version. Keeping the system updated helps avoid incompatibilities during setup.
If all the steps have been followed correctly and the activation still fails, the best course of action is to contact the support team of the company responsible for the eSIM to confirm if the plan is active and to request a new installation code, if necessary.
Using an eSIM on an iPhone seems simple, but taking a few precautions helps avoid problems and unwanted charges during your trip…
A primary tip is to always check if the mobile data for your Brazilian SIM is disabled, so you don’t run the risk of consuming data while roaming without realizing it. Leave the Brazilian line on strictly for calls and SMS, if needed. Follow the specific guidelines provided by your eSIM provider, as some plans have speed limits, data caps, or usage deadlines.
Another recommendation is to adjust the settings for apps that consume large amounts of data, such as streaming services and cloud backups, to avoid exceeding the plan’s limit. If your iPhone allows more than one eSIM, you can keep multiple profiles installed and only activate the one you’ll be using for each trip. And don’t forget to check your iMessage and FaceTime settings, choosing which number you want to associate with those services, usually sticking with your Brazilian number to stay in touch with your regular contacts.









Comments: